User Guide
What is this for?
Just like actual phishers [1], we are looking to perform a bit of recon on each of the targets of our campaign. Using this application we can learn:
Is the person is likely to click on links, or display images, in suspicious [2] emails.
An actual phisher might go further to redirect the user to a web site that looks like some other web site (in an effort to log their login attempts and learn the person’s credentials) but this is where we stop.
How does it work?
In order to run a successful campaign we need to compose an email with at least one way of pinging back to our application embedded in it.
Pinging our application is handled by making a HTTP request, either through the
click of a link, or the requesting of an img src. The actual urls are
dependent on how your application is deployed, but given trawler is
running on http://localhost:8000:
- link url:
http://localhost:8000{{ target.link_uri }} - image url:
http://localhost:8000{{ target.img_uri }}
The above urls can be followed by any valid url parts, for example we can write
http://localhost:8000{{ target.link_uri }}awesome/cgi-bin/application.pl
and it would be the same as writing
http://localhost:8000{{ target.link_uri }}forum/index.php
Each of these urls types (image and link) behave slightly differently on the
application end. When a user clicks on the link, in the email, we record a
“hit” for the user and the application returns an HTTP 404 status (page not
found).
If a user opts to display the images in the (or perhaps their mail client is
configured to load images automatically), we record that too. If an image has
been uploaded for the campaign, then the application sends the image data to the
client, otherwise it returns an HTTP 404 status (thus displaying a “broken”
image).
Note
The {{ target.link_uri }} and {{ target.img_uri }} in the urls should be entered literally. Trawler will substitute the tokens for a uri that is tailored both to how you’ve setup your deployment (app prefixes, etc) and the specific target each time the message is mailed out.
The domain/ip before the uri and the content after are totally up to you. You might want to register a look-a-like domain and point it at your server specifically for running your campaign, depending on the level of deception you’re going for.
Creating a Campaign
For the time being, the way we interact with Trawler is through the django admin
site. Visit http://localhost:8000/admin/ (or whatever is appropriate for
you) to login. Once logged in, click through to the trawler campaign create page
(add a campaign).
If you don’t see trawler listed in the admin site, verify that you added
trawler to your list of INSTALLED_APPS, and remembered to syncdb
afterwards.

The image above shows a campaign I’ve directed at myself.
I’ve specified a both text/plain and text/html content for the email
body so that I can include <img> and <a> tags. Using html markup makes
it easier for us to “hide” true nature of the content we are linking to
(just like a rickroll [3]). The plain text version
simply includes a url to my fictitious store-front.
Note
I’ve customized the link url to appear to be a “harmless”, non-dynamic html document. Similarly, I’ve made the image appear to be a store logo by “naming” the file as such (even though it’s not).
After I’ve saved this campaigned (with myself as a target), I return to the campaign list page, check the box next to my campaign to select it, then choose test or launch from the dropdown menu above, finally clicking the go button to actually send out the mail.
Here’s the rundown on what these 2 actions do:
- Launch
- Send the campaign email to all targets associated with the campaign. There is no confirmation for this. Furthermore, there are no take-backs. Do not launch until you are sure everything is in order.
- Test
- Sends the email to you (the current logged in user), but does not register links and images viewed as normal. Use this to verify your links are correct (or to see how your spam filter reacts to the message).
Writing your Message
Ther are some things to consider as you compose your message.
Plain and HTML content types
Many mail clients support the rendering of html content however the Plain is required.
The message template context
Both the plain and html message fields are used as django templates, with context substitutions being made per Target right before the email is sent out to them.
The template context provieds access to the target instance via the variable {{ target }}.
The target object provides a number of helpful properties:
- {{ target.email }}:
- The email address that the target is going to recieve the email at.
- {{ target.img_uri }}:
- The target-specific image src (relative to site root).
- {{ target.link_uri }}:
- The target-specific link href (relative to site root)
- {{ target.extra }}:
Each target has an
extra_contextfield. Given a comma seperated key=val list in this field, that data will be avialble to you via{{ target.extra }}.For example, if the extra context for a target had
first_name=John, last_name=Doe
you could include
Hello {{ target.extra.first_name }} {{ target.extra.last_name }}
in your message, which would become
Hello John Doe
when the email was sent out.
If all your targets in this campaign also had these extras specified correctly, you could send a highly personalized email to each of your targets.
This is really only meant for simple values. If trawler is not able to cleanly and simply parse out the
x=1, y=2, z=3in this field, values may be skipped. By default (in django templates) accessing values that are not there will result in nothing being printed. Just be aware that these values are being silently dropped - there will be no notification issued by the system.
The main thing to take away is that this block of text is just a django
template. While the context is limited, you should be able to use any
of the default template tags and filters that ship with django.
For more information on the django template system, see the django docs.
Monitoring the Campaign
Visiting the campaign edit page, you’ll see a button on the top right labeled view on site. Follow that link and you’ll see the campaign results page, which for me looks a bit like this:

What’s that? I have a new email in my inbox... it’s from someone I’ve never been in touch with before, but it sounds like they are willing to give me a good deal on watches.
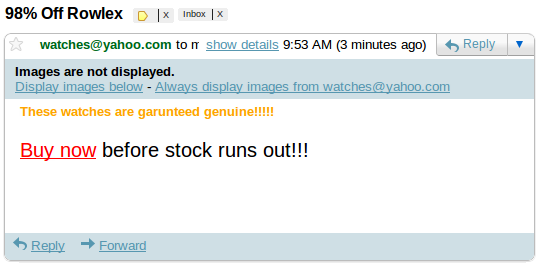
Going back to the campaign results, there’s been no change. When I click the link, or load the images however...
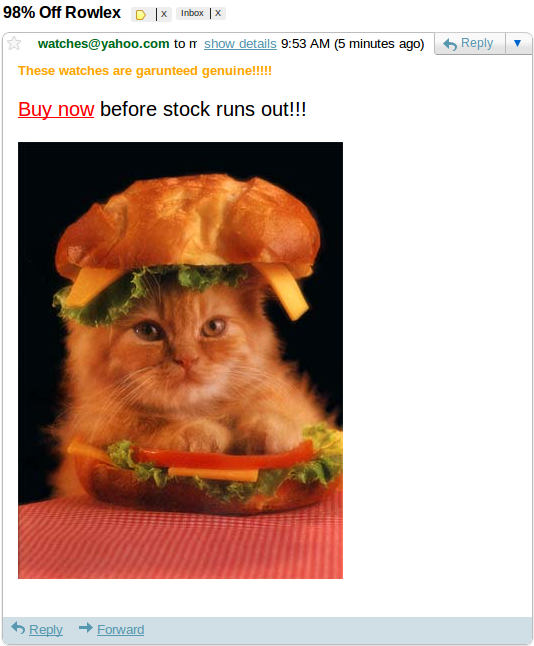
the updated value will change and False will become True.

That’s about all there is to it.
Footnotes
| [1] | Not sure if this is actually a word. Read: people that run phishing scams. |
| [2] | The level of suspiciousness is entirely up to you. |
| [3] | See: http://en.wikipedia.org/wiki/Rickrolling |